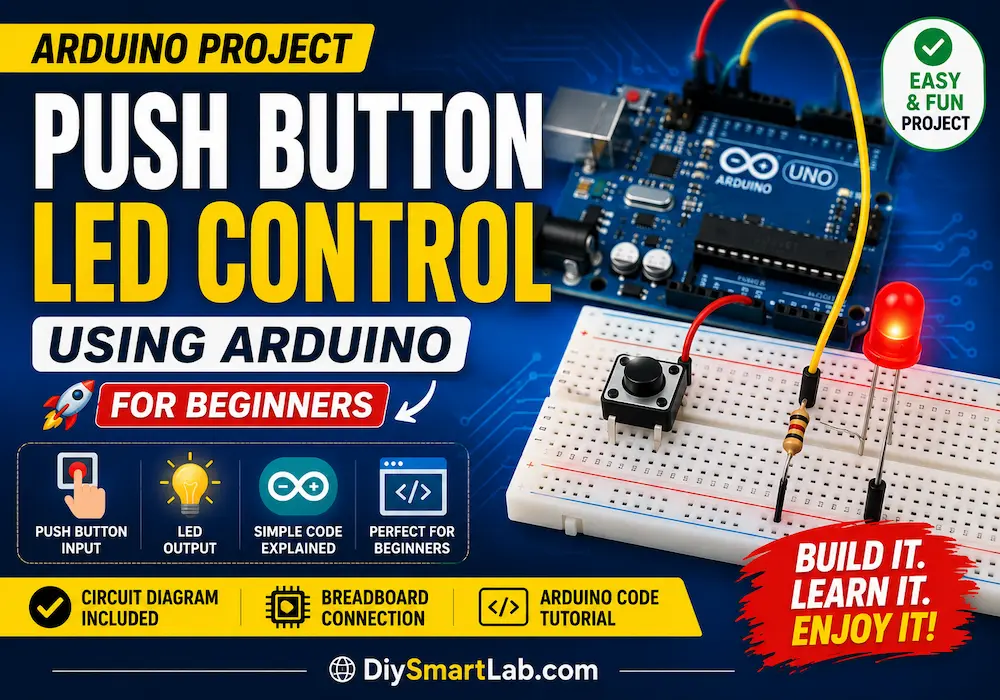
Push Button LED Control Project Using Arduino for Beginners
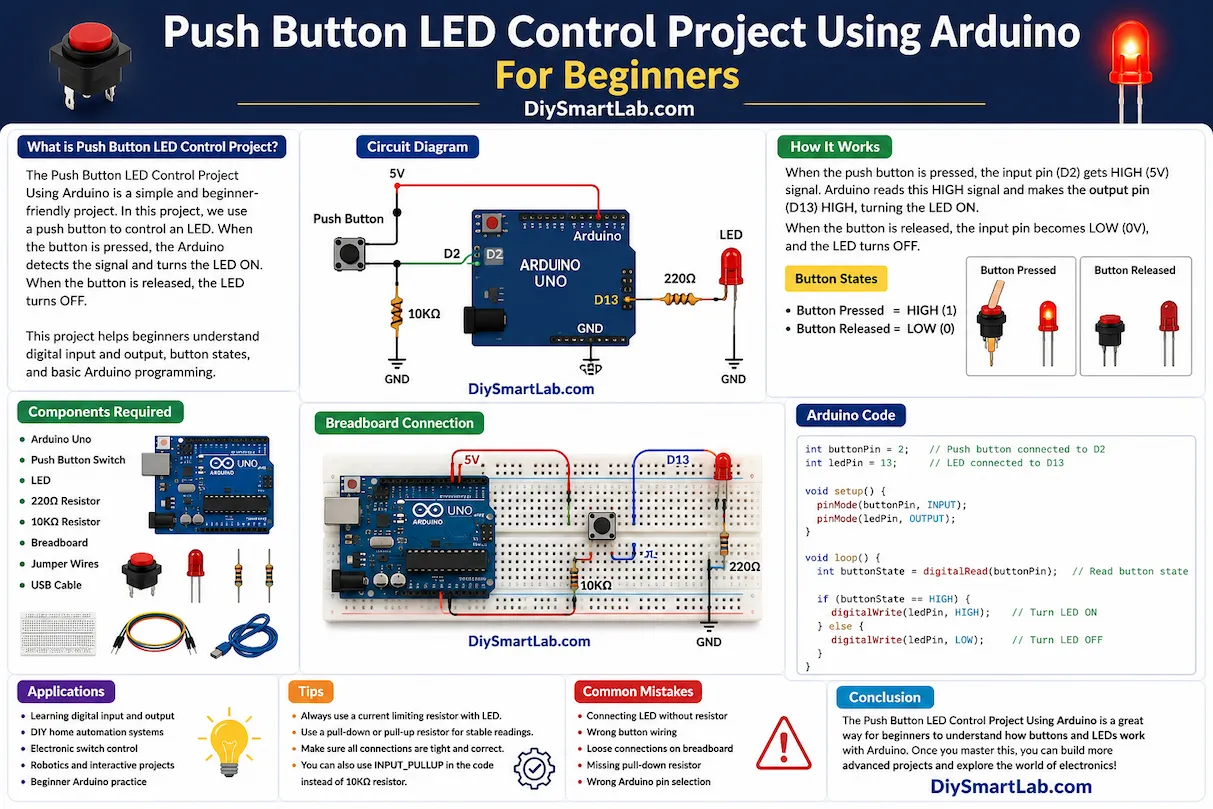
The Push Button LED Control Project Using Arduino is one of the best beginner-friendly Arduino projects for learning basic electronics and programming. In this simple DIY electronics project, you will learn how to control an LED using a push button and an Arduino Uno board. This project helps beginners understand digital input and output concepts, button states, and basic Arduino coding.
If you are new to Arduino and electronics, this project is a perfect starting point for building interactive circuits and smart DIY projects.
What is Push Button LED Control Using Arduino?
Push Button LED Control is a simple Arduino circuit where a push button is used as an input device and an LED is used as an output device. When the button is pressed, the Arduino detects the signal and turns the LED ON. When the button is released, the LED turns OFF.
This project demonstrates how Arduino reads digital signals from components and controls external devices.
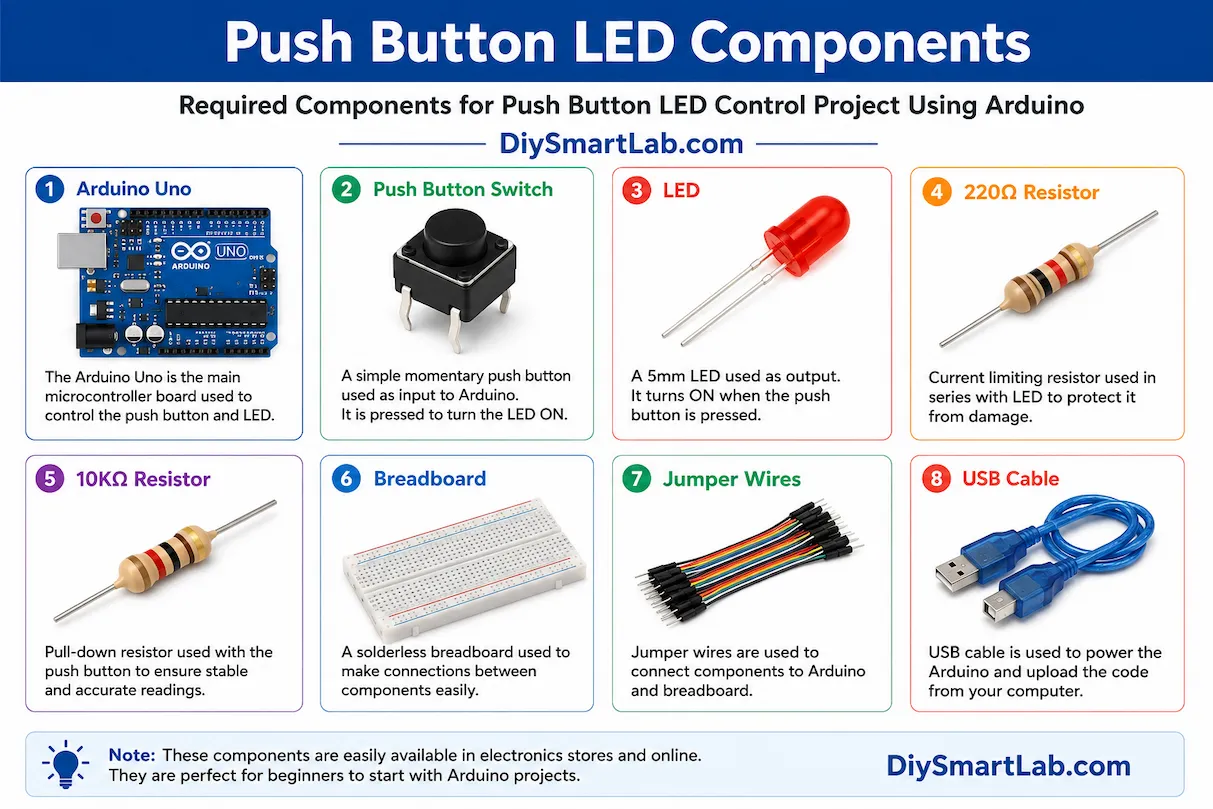
Components Required for Push Button LED Project
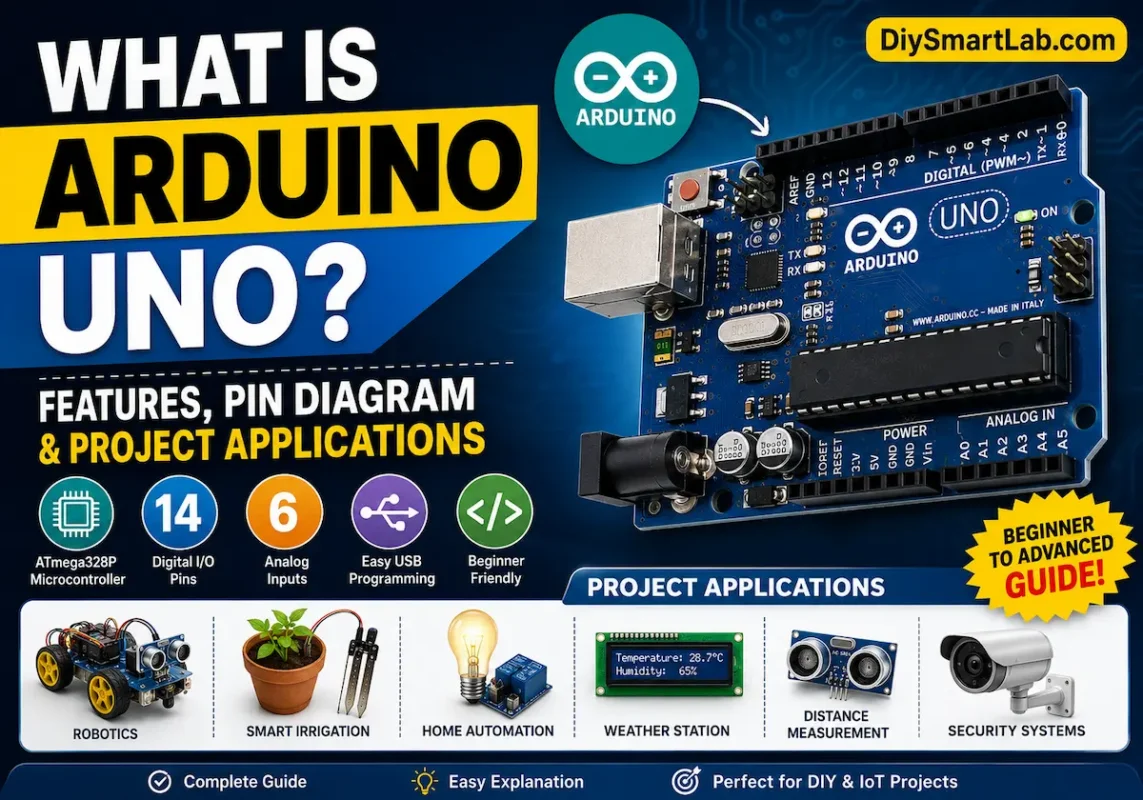
- Arduino Uno
- Push Button Switch
- LED
- 220Ω Resistor
- 10KΩ Resistor
- Breadboard
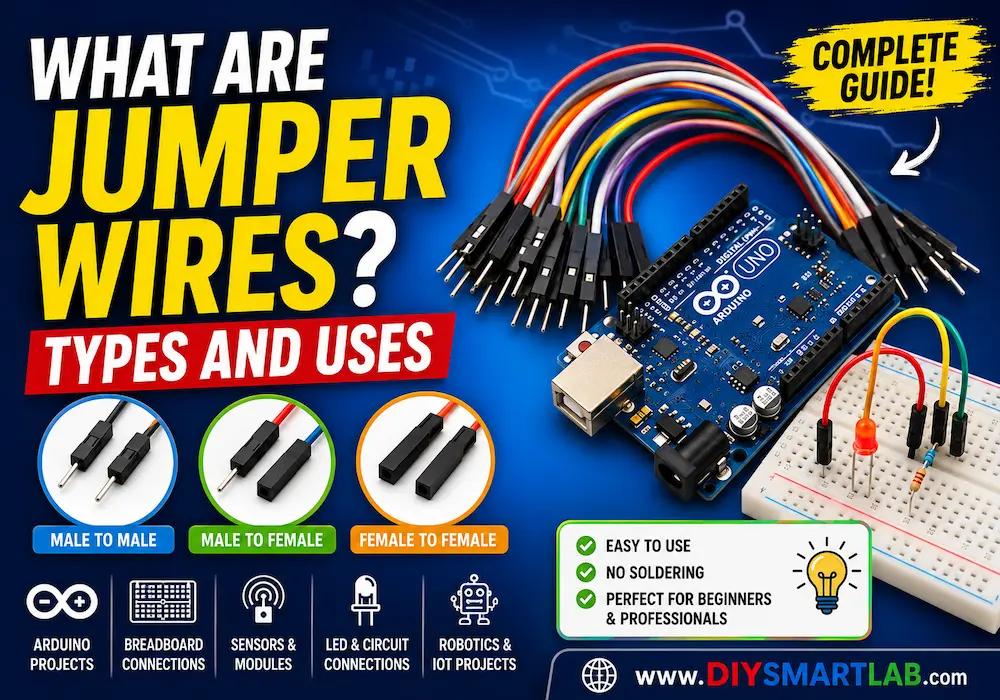
- Jumper Wires
- USB Cable
How Push Button Works in Arduino
A push button is a simple switch that connects or disconnects the electrical circuit when pressed. Arduino continuously checks the button state using a digital input pin.
There are two possible button states:
- HIGH: Button Pressed
- LOW: Button Released
When the button is pressed, the Arduino receives a HIGH signal and turns the LED ON.

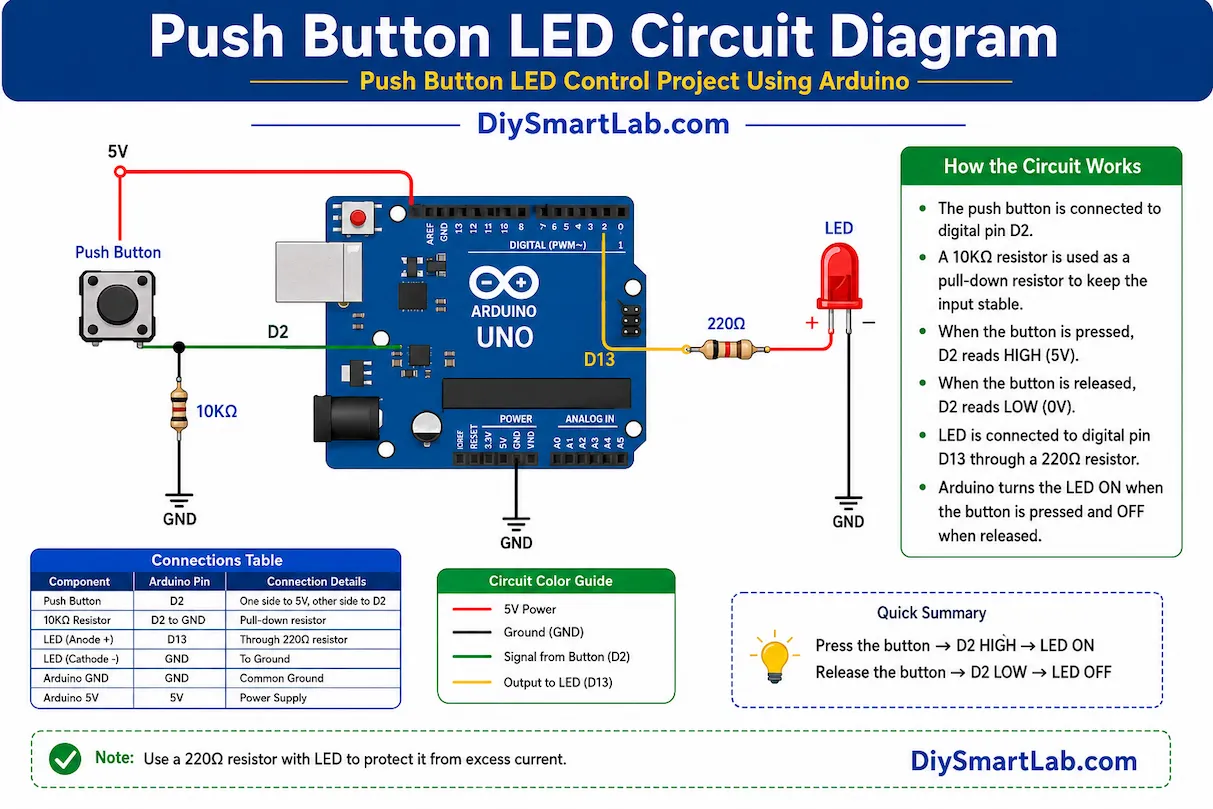
Push Button LED Control Circuit Diagram
Connect the push button to Arduino digital pin 2 and connect the LED to digital pin 13 using a 220Ω resistor. Use a 10KΩ resistor as a pull-down resistor for stable button readings.
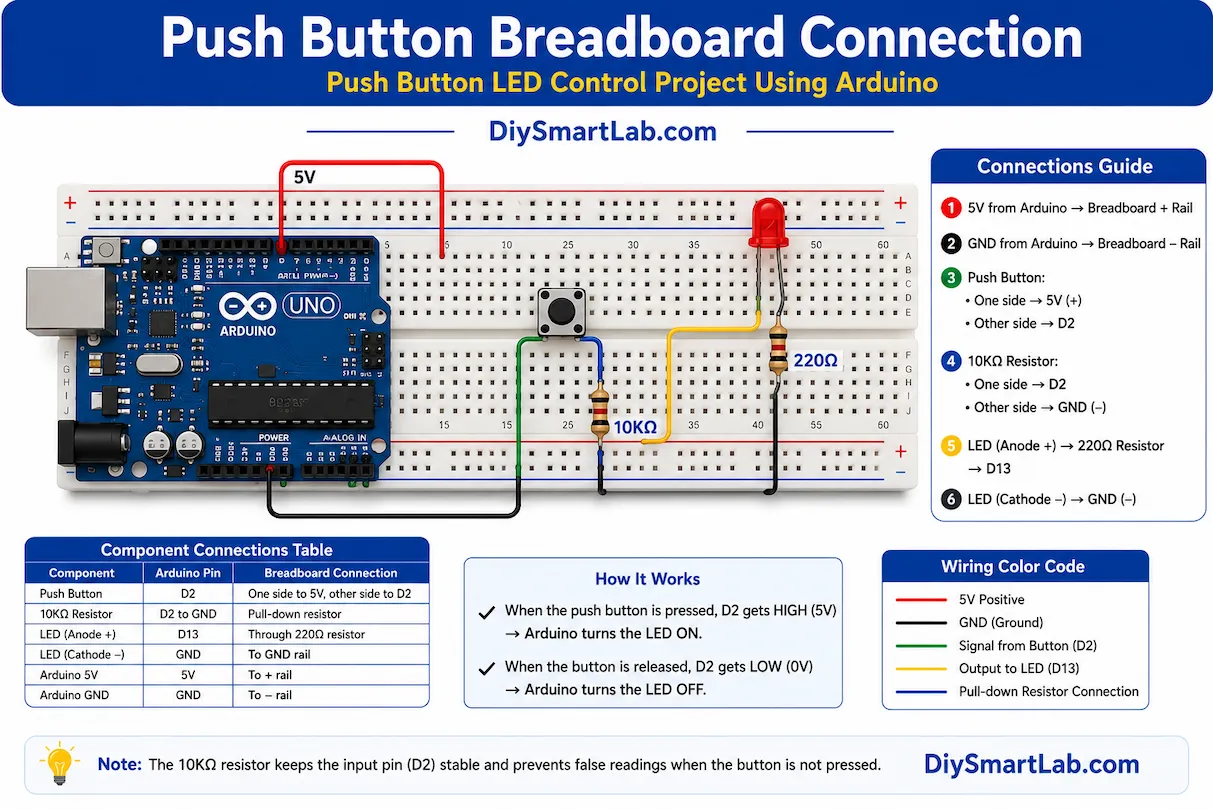
Push Button LED Breadboard Connection
- Connect LED positive leg to Arduino pin 13 through a 220Ω resistor.
- Connect LED negative leg to GND.
- Connect one side of the push button to 5V.
- Connect the other side of the button to digital pin 2.
- Connect a 10KΩ resistor between pin 2 and GND.
Arduino Code for Push Button LED Control
int buttonPin = 2;
int ledPin = 13;

void setup() {
  pinMode(buttonPin, INPUT);
  pinMode(ledPin, OUTPUT);
}

void loop() {
  int buttonState = digitalRead(buttonPin);

  if (buttonState == HIGH) {
    digitalWrite(ledPin, HIGH);
  } else {
    digitalWrite(ledPin, LOW);
  }
}
How the Arduino Code Works
- pinMode() sets button pin as INPUT and LED pin as OUTPUT.
- digitalRead() reads the button state.
- digitalWrite() turns the LED ON or OFF.
- The loop continuously checks whether the button is pressed.
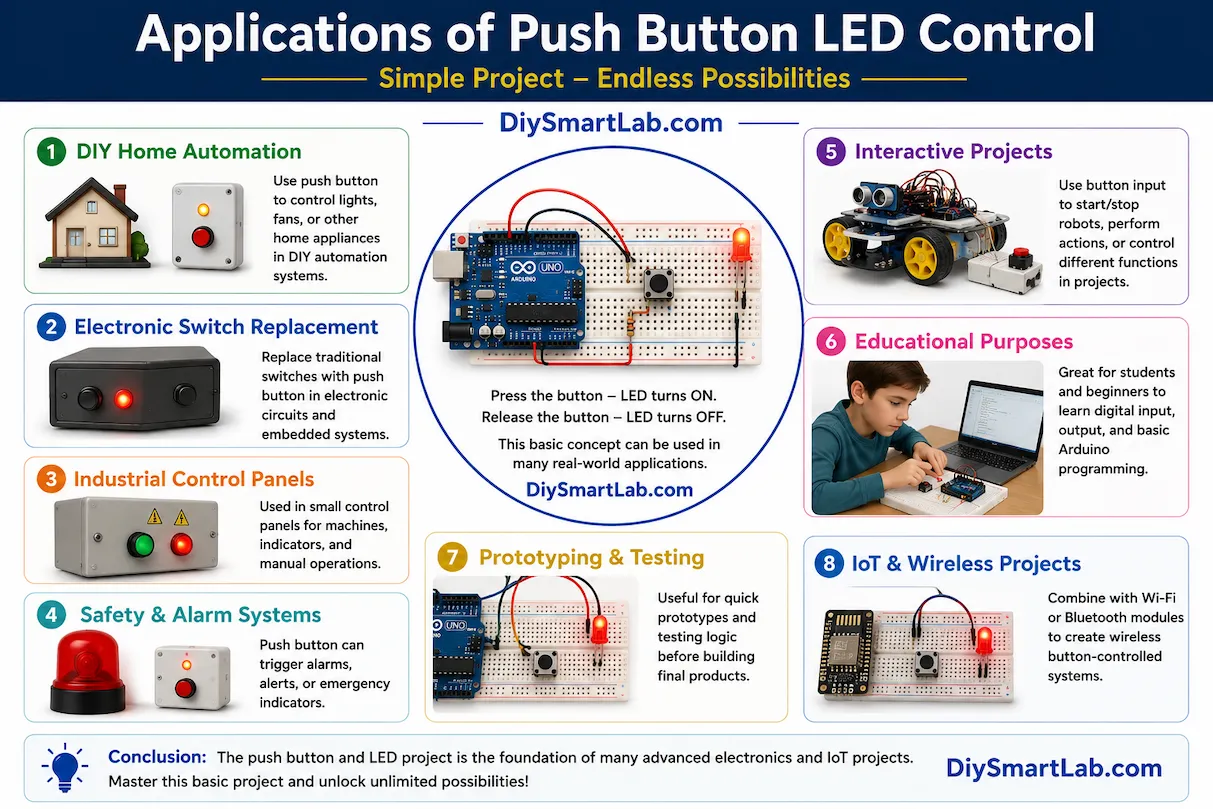
Applications of Push Button LED Control Project
- Arduino beginner practice projects
- DIY home automation systems
- Electronic switch control circuits
- Interactive robotics projects
- Smart button control systems
- Learning digital input and output
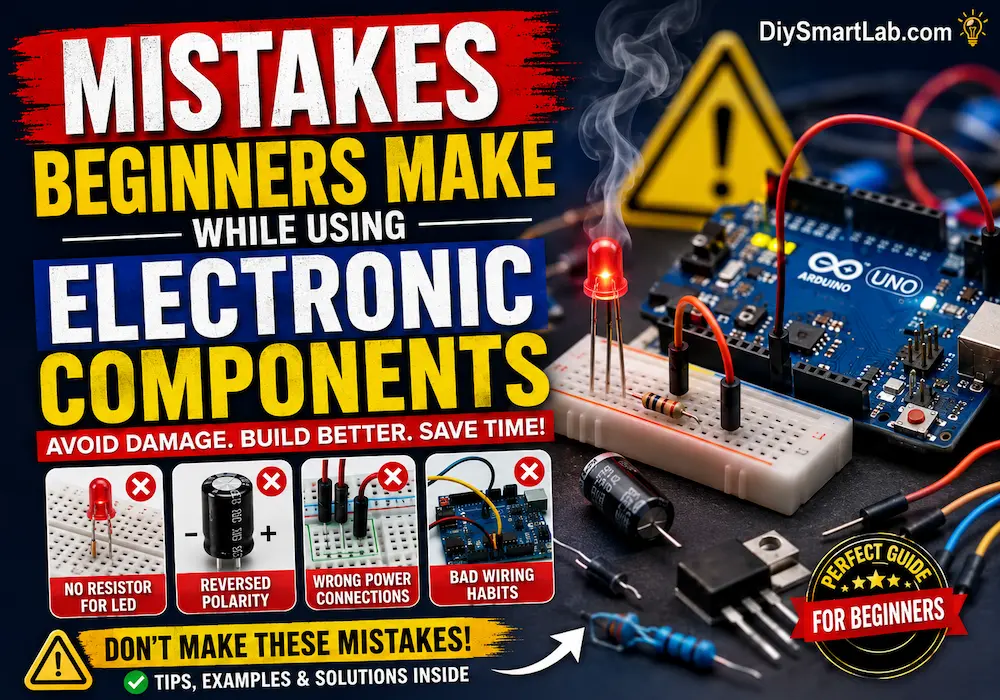
Common Mistakes Beginners Make
- Connecting LED without resistor
- Wrong push button orientation
- Loose breadboard connections
- Incorrect Arduino pin selection
- Missing pull-down resistor
Tips to Improve This Arduino Project
- Add multiple LEDs
- Use buzzer with push button
- Create toggle ON/OFF system
- Control relay modules using button
- Add LCD display for button status
Conclusion
The Push Button LED Control Project Using Arduino for Beginners is a simple and practical project to understand Arduino input and output operations. This beginner electronics project helps you learn button interfacing, LED control, breadboard wiring, and basic Arduino programming.
Once you complete this project, you can easily move toward advanced Arduino automation and smart electronics projects on DiySmartLab.com.
Frequently Asked Questions (FAQ)
Why do we use a resistor with LED?
The resistor limits current flow and protects the LED from damage.
Can I use Arduino internal pull-up resistor?
Yes, you can use INPUT_PULLUP mode instead of an external pull-down resistor.
Which Arduino board is best for beginners?
Arduino Uno is one of the best beginner-friendly development boards.
Can I control other devices using push buttons?
Yes, push buttons can control relays, motors, buzzers, displays, and many other electronic components.