Touch Sensor Light Switch Project | Simple DIY Touch Light Circuit
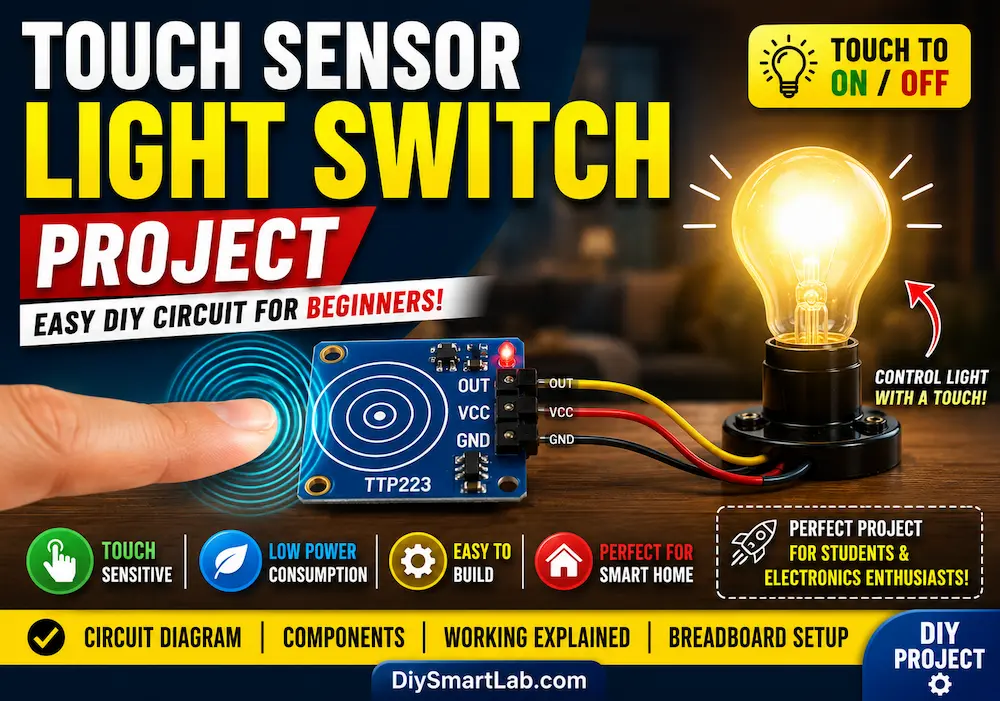
Touch Sensor Light Switch Project – Easy DIY Touch Lamp Circuit for Beginners
The Touch Sensor Light Switch Project is one of the most exciting beginner-friendly DIY electronics projects. Instead of using a traditional mechanical switch, this circuit allows you to turn a light ON or OFF simply by touching a sensor plate. It is simple, modern, and widely used in smart home and automation systems.
In this detailed guide by DiySmartLab.com, you will learn how a touch sensor switch works, the required components, circuit diagram, working principle, applications, advantages, and how to build the project easily at home.

What is a Touch Sensor Light Switch?
A touch sensor light switch is an electronic circuit that detects the touch of a human finger and changes the state of a connected light or appliance. Unlike traditional switches, touch sensors work using the electrical properties of the human body.
When a person touches the sensor pad, the circuit senses a small electrical change and activates the output device such as an LED, bulb, or relay.
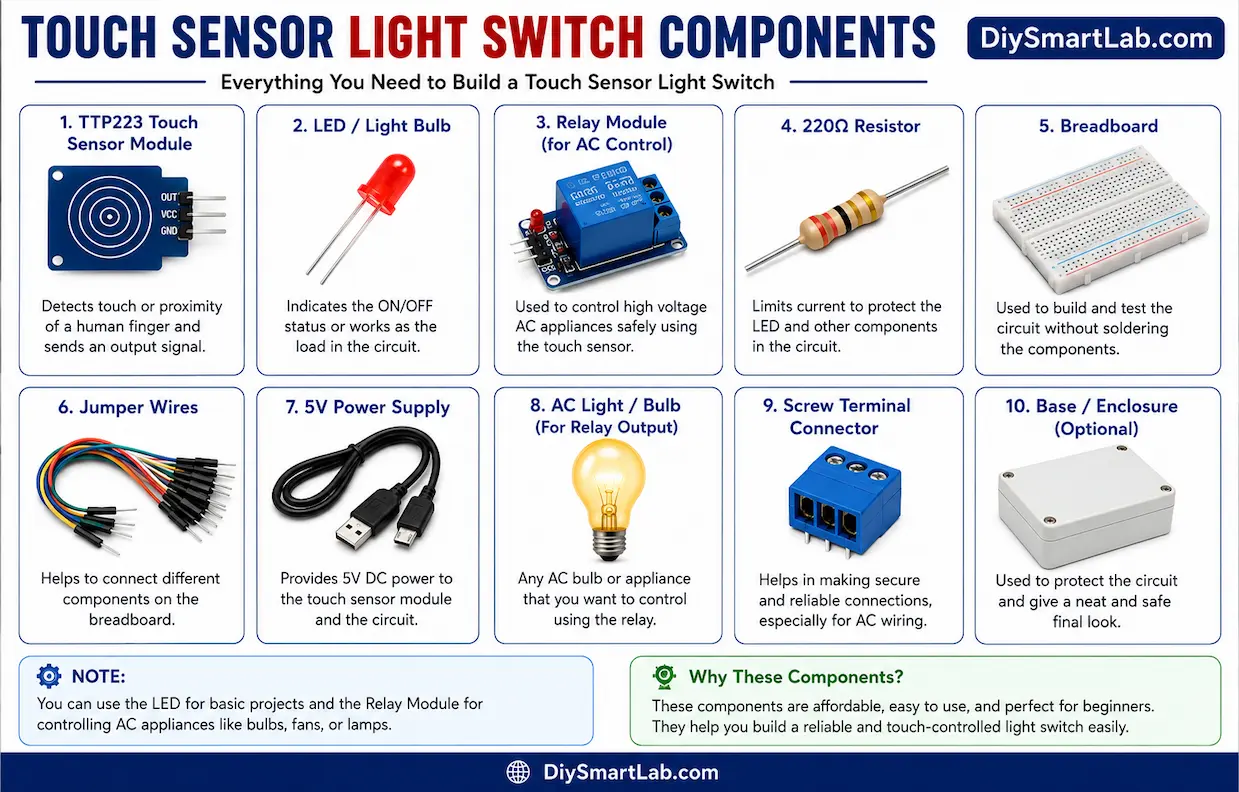
Components Required for Touch Sensor Light Switch Project
- TTP223 Touch Sensor Module
- Arduino Uno (optional for advanced control)
- LED or Light Bulb
- 220Ω Resistor
- Relay Module (for AC bulb control)
- Breadboard
- Jumper Wires
- 5V Power Supply
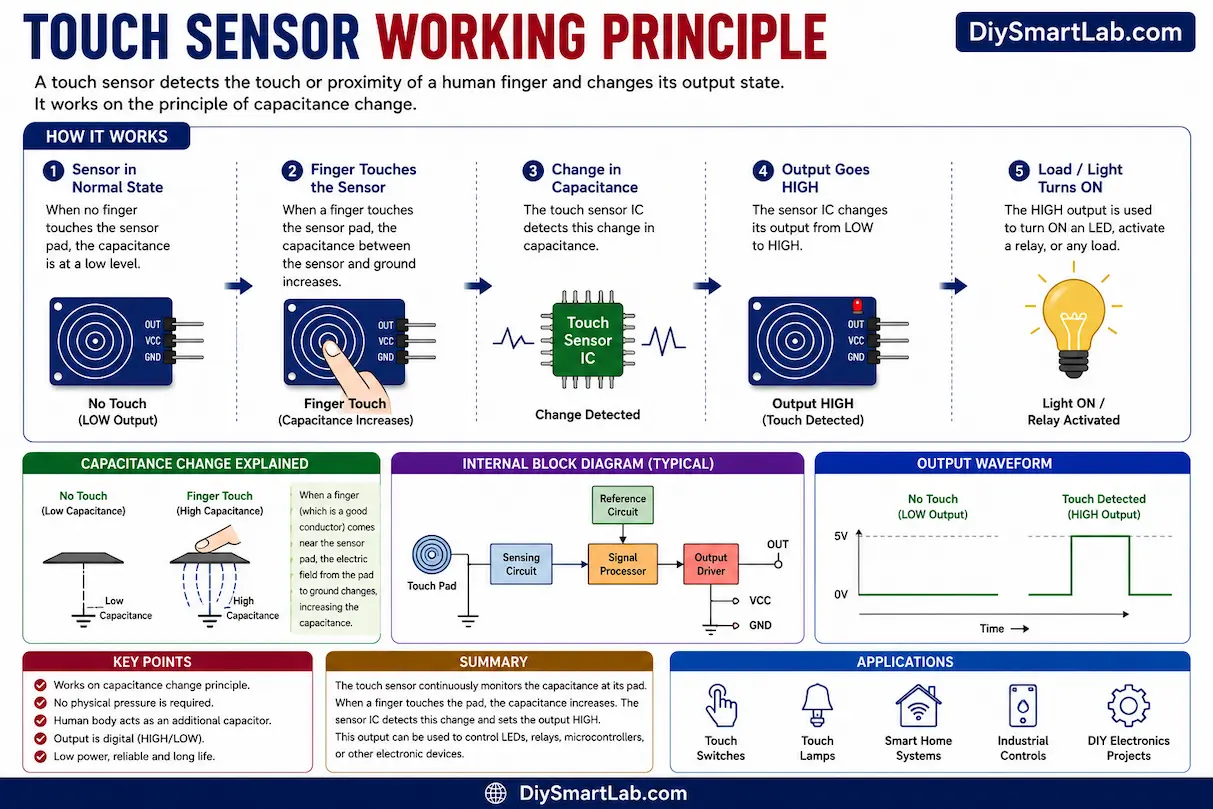
How Does the Touch Sensor Work?
The touch sensor module detects capacitance changes when a human finger comes near or touches the sensor surface. The human body stores a tiny electrical charge, and the module senses this variation.
Once the touch is detected, the sensor output changes from LOW to HIGH, which can turn ON an LED directly or trigger a relay to control larger electrical devices.
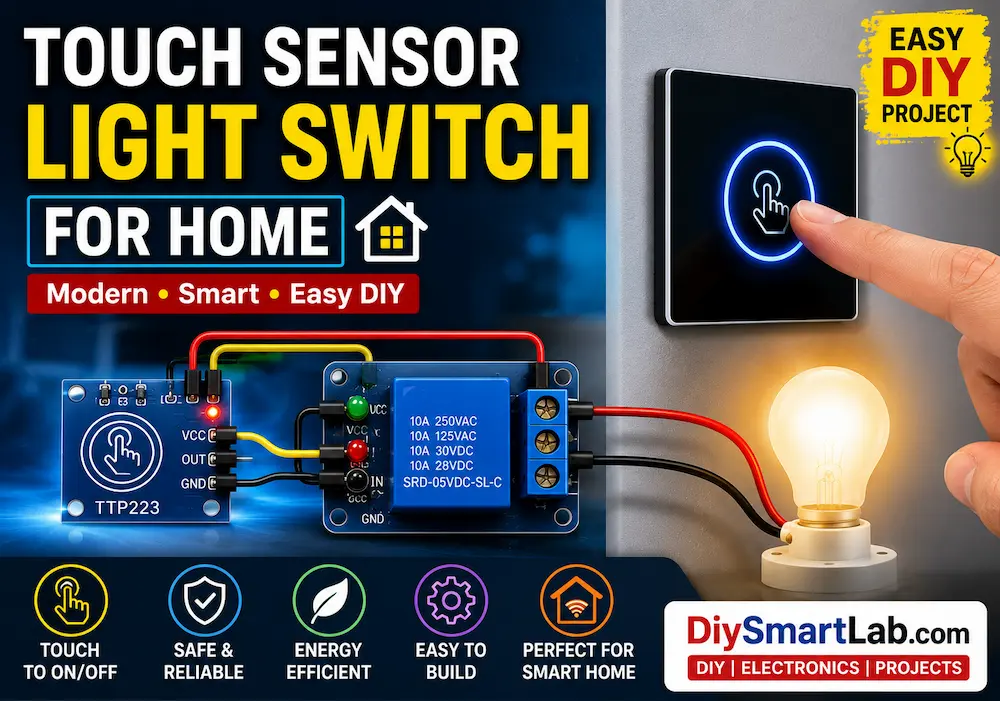
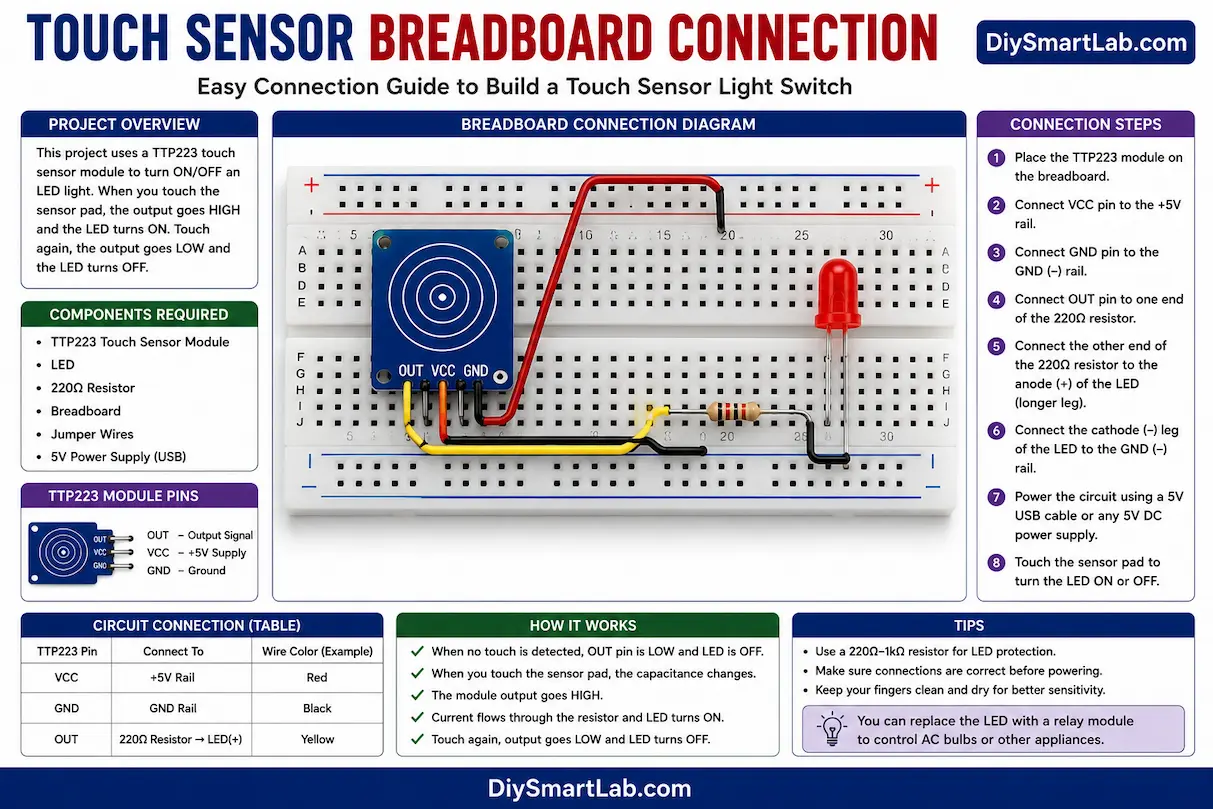
Touch Sensor Light Switch Circuit Diagram
In this project, the TTP223 touch sensor module is connected to an LED or relay module. When the touch sensor is pressed, the output signal activates the connected light.
- VCC → 5V Supply
- GND → Ground
- OUT → LED or Relay Input

Touch Sensor Light Switch Breadboard Connection
Follow these steps to make the circuit on a breadboard:
- Place the TTP223 touch sensor module on the breadboard.
- Connect VCC to 5V and GND to Ground.
- Connect the OUT pin to the LED through a 220Ω resistor.
- Connect the negative side of the LED to Ground.
- Power the circuit using a USB cable or battery.
- Touch the sensor pad to turn the light ON or OFF.
Advantages of Touch Sensor Light Switch
- No mechanical wear and tear
- Modern and stylish operation
- Low power consumption
- Easy to build and use
- Perfect for smart home automation
- Compact and reliable design
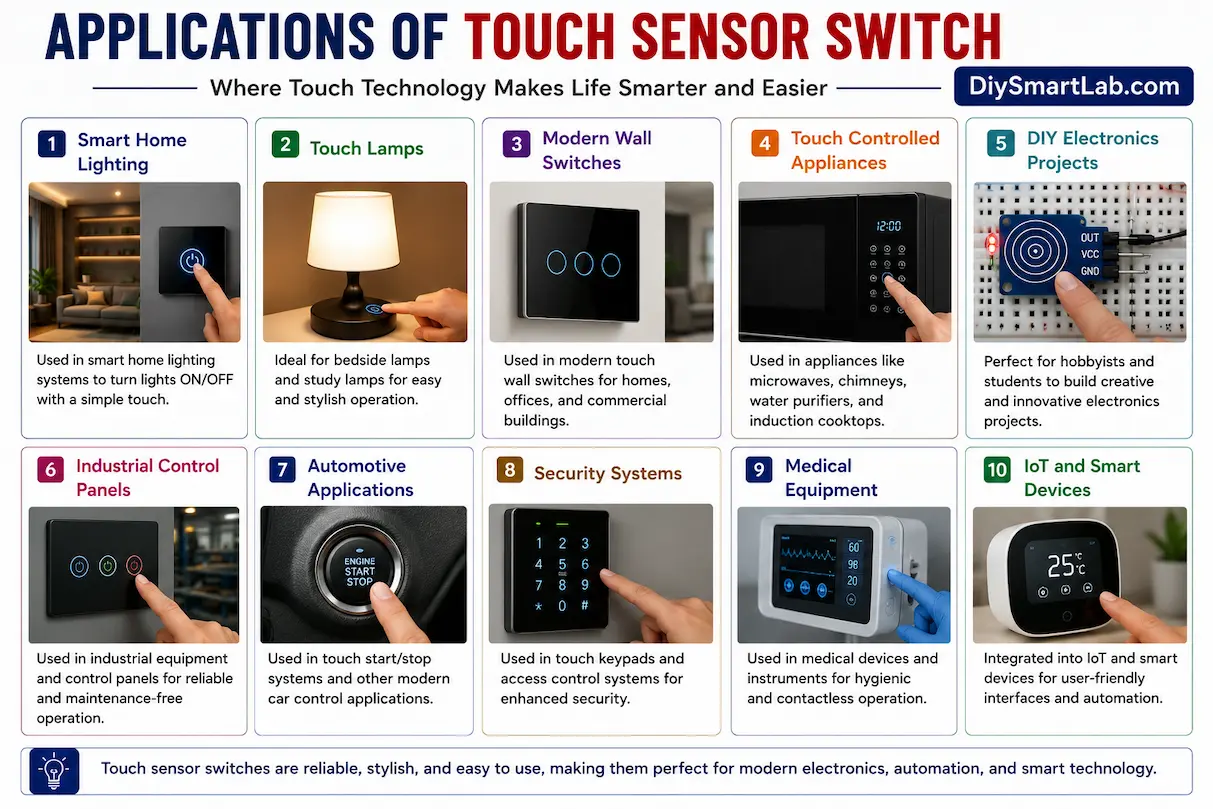
Applications of Touch Sensor Light Switch Project
- Smart home systems
- Bedside touch lamps
- DIY automation projects
- Touch-controlled appliances
- Modern wall switches
- Arduino and IoT projects
Safety Tips
- Always disconnect power while wiring the circuit.
- Use a relay module carefully for AC appliances.
- Do not touch exposed high-voltage wires.
- Double-check all breadboard connections before powering ON.
Conclusion
The Touch Sensor Light Switch Project is a simple and exciting electronics project for beginners. It introduces touch sensing technology and helps you understand modern automation systems. With only a few components, you can build your own smart touch-controlled light system at home.
This project is perfect for students, hobbyists, and anyone interested in DIY electronics and smart home projects. You can also expand this project using Arduino, relay modules, or IoT devices for advanced automation.
Frequently Asked Questions (FAQ)
What is a touch sensor switch?
A touch sensor switch is an electronic switch that detects human touch and controls a connected device like an LED or light bulb.
Which sensor is used in this project?
The TTP223 capacitive touch sensor module is commonly used for beginner touch sensor projects.
Can I control an AC bulb with a touch sensor?
Yes, but you must use a relay module for safely controlling AC appliances.
Is Arduino required for this project?
No, a basic touch sensor light switch can work without Arduino.
Where are touch sensor switches used?
Touch sensor switches are used in smart homes, touch lamps, automation systems, and modern electronic appliances.